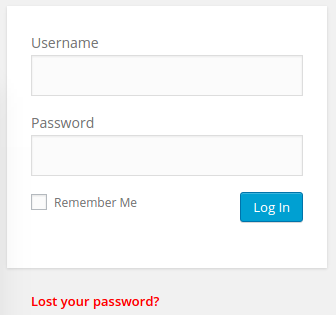
Do you remember your password for this site?
If you are like me, you tend to use a lot of different website and services on the net, with the consequent number of passwords.
There are a bunch of strategies which tend to be used to handle this situation:
- re-use the same password over and over. This is one of the most dangerous one
- use several passwords, usually with a decreasing security level. For example your super secure password for your email, and then less complicated and less secure passwords as soon you are for all the rest. Usually a pool of five or six passwords.
- refer to the trusted document sitting on your computer, with your passwords in clear text.
If any of this scenarios looks familiar, then it’s time to re-vamp what you are doing and change approach.
Let me introduce you clipperz:

Online password manager with client side encryption
Clipperz is an opensource online password manager which knows nothing about your data, and sports a client encryption system.
What does it mean?
It means that the encryption is done at client level (in your browsers, via Javascript), and then only the encrypted data are sent to the server to be stored. So if somebody hacks the servers, they will get some encrypted nonsense which they cannot decode without your passphrase
To sign up you need to pick a username and a passphrase. The only catch is, because clipperz does not know anything about you, there is no way to recover the passphrase. So if you forget it, it’s gone.
Once you have your account set up, after you have logged in, you can record any type of information that you want to keep secret and secure.
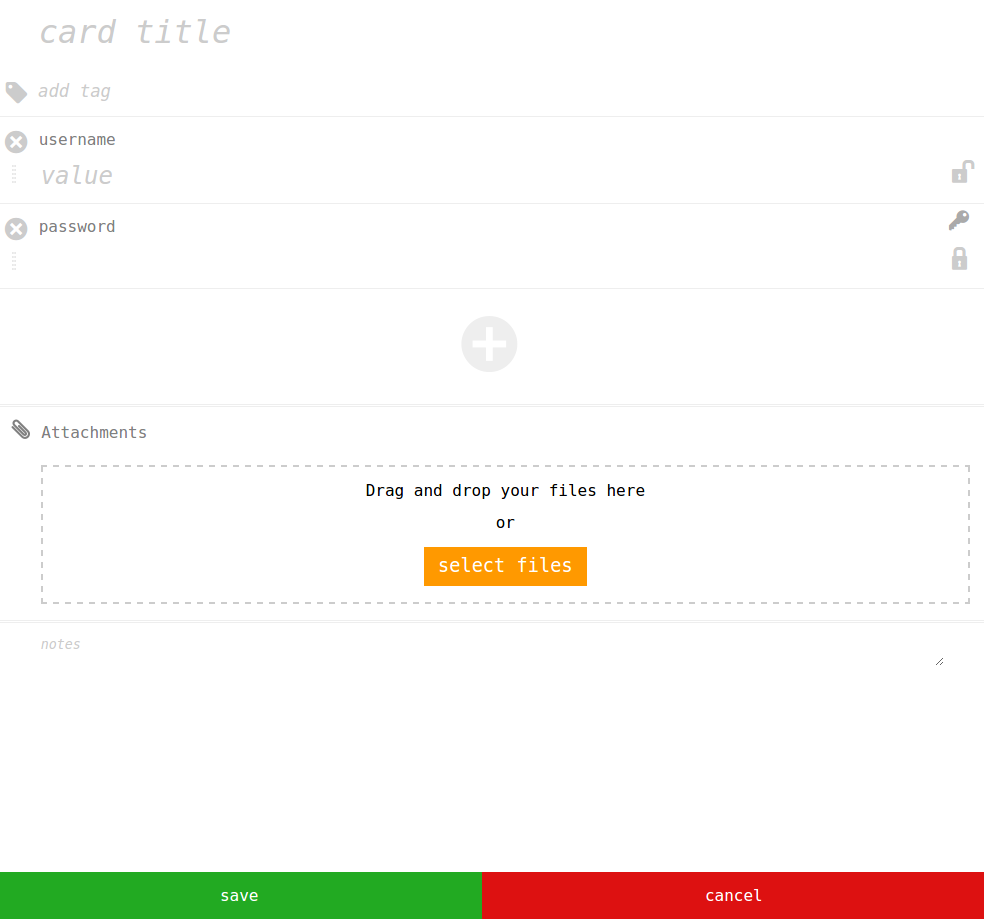
Classic entry for a new clipper record
For example, if you have just created an account for a new website, you can record the url and the username and then for the password you used. If you want, you can use the password icon on the right, to generate a new random password. This is extremely handy, because all your password will be random, and if somebody will be able to get the passwords from this website, then you do not have to worry, but you just have to generate a new one and change it!
Once you have saved, that record will be available online for you from any device, Ājust go to clipperz again and log in. Additionally there is a Search and a Tagging system available, and also the possibility to take a read-only backup of clipperz on your computer.
It’s quite a long time that I’ve bitten the bullet, and started to use a password manager. I never regretted it. More over, I think clipperz is extremely good and I am extremely happy with it.
Take it for a ride, one passphrase to rule them all!