Ubuntu on a Mac, because of reasons
Prolugue
My computer served me well up to now, however it started to show it’s age. It is an old DELL XPS 13 inches, from 2008. The .. emh, beast, has one CPU, virtualized to two and a whopping 4 Gb of RAM (which is not bad). However the right hinge cracked not too long ago, and it was becoming too slow when trying to play with new toys (docker, I’m looking at you).
This fact, together that the operating temperature was always around 80/90 degrees, had transform it on a very cumbersome machine to work on. Maybe with an external monitor/keyboard and mouse could have improved the situation a little, however I tend to work always on the go, and I do not have a proper working desk, mostly working in the kitchen.
Therefore I’ve started to look in the market for a replacement. The problem was I want a unicorn laptop, which does not exist due to physics’ laws.
Let me explain: I’ve wanted the latest badass videocard from NVIDIA, the craziest Intel CPU and the laptop should also run both quietly and cool.
Now this sounds pretty insane specs, and they are. There are laptop out there, especially the gaming ones, that have super powerful CPUs and video card, however they run pretty hot, and the fans are always on, making them quite noise and not exactly a pleasure to work with.
On top of this the battery also gets a beating, due to the extra power used by these hungry appliances.
Therefore nothing was fitting the bill.
Ubuntu on Mac Book Pro
Given the fact I was not really falling in love with any computer out there, I start to look for other solutions. It turned out that my girlfried had an old Mac Book Pro (2010) that she was not using any more, because she upgraded to a mac book air a bunch of years ago.
This left a decently powerful computer (4 virtualized CPUs, 8 Gb of RAM) available, so I’ve decided to test drive it.
There was never an option to use OSX because: a) I’m not a fan, b) I really like Linux and the freedom that comes with it, c) it’s impossible to get it to do what you need to do it.
I guess also, having used Linux for more than 15 years as my primary system, and loving it for development and data science, has influenced my view on this.
Few constraints I had before attacking the problem:
- the OSX partition must remain and still be useful. Was not a must but a nice to have thing
- The data attached to that OS should be conserved, and having access to them via the OSX would be the best solution
We are going for dual boot (oh yeah!!!), without blowing up the whole disk (oh double yeah!!!).
This laptop sports a 500 Gb harddrive, and the total amount of space used by the OSX plus the data is around 150 GB, hence I was able to cut more or less 350 GB to use for Ubuntu as I pleased.
How I did it:
- I’ve installed rEFIt on it to manage the dual boot (yep, it’s been abandoned, but it does the job)
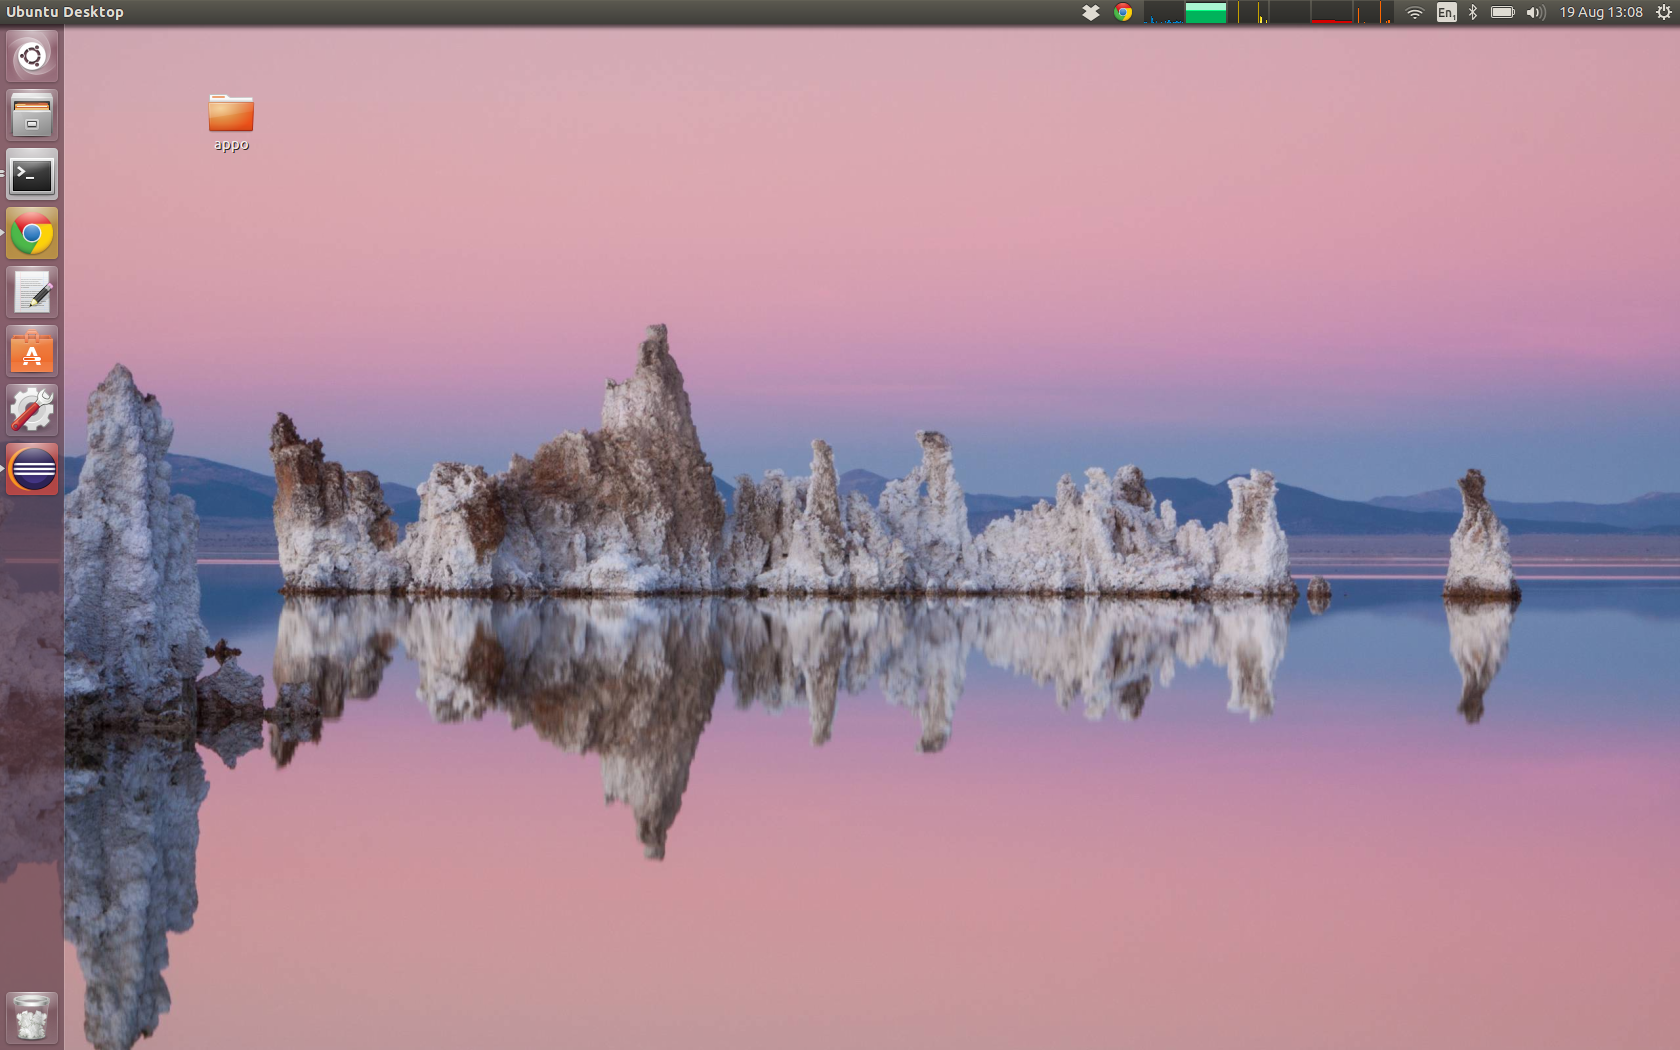
- I’ve installed Ubuntu 14.04 from a live CD (you need to press the Alt Left or also known as Option key to get the machine to read the CD at boot)
- I’ve tried to use the Nvidia driver, failed badly, given up and sticked with the opensource nouveau, which do a pretty decent job.
For the partition I’ve followed the same strategy I’ve written about here
Impressions so far
- The computer is quieter than my previous one, and it’s a lot snappier. Tha fan do work, once you have installed the macfanctld package
- The keyboard is nice, however I’m not used to the layout of the Command key and the Alt key. So I may look into re-mapping them.
- The Fn button together with the Function key (F1-F12) are inverted. This means that to press F4 you have actually to press (wrong) Alt-Fn-F4. Basically I’m better off to click close with the mouse.
- The right click can be obtained touching the trackpad with two fingers at the same time, ’cause we’ve got only one button.
- The layout picked does not really match the keyboard anyway, but I do not care, ’cause I’m using my muscle memory, and I’m doing just fine (the @ is where there is the “, for example).
So I’ve gained in speed and got a slightly odd keyboard and right click, which I need to relearn (no other option for the right key), and maybe re-map for the keys. I guess if I have used this layout all the time, these were not an issue.
I’ll keep it, for now.